
EXTENSION INTERIORS · DEFINED HANDOVER
House Extension Finishing Bermondsey
We complete an agreed interior package for a separately built extension. For an enquiry in Bermondsey about a dining extension with visible floor changes, the plan begins with the actual shell and the connection to the existing home.
- Measure contrasting floor finishes against the retained rooms
- Agree materials and specialist releases before close-up
- Fit and inspect the floor, joinery and decoration
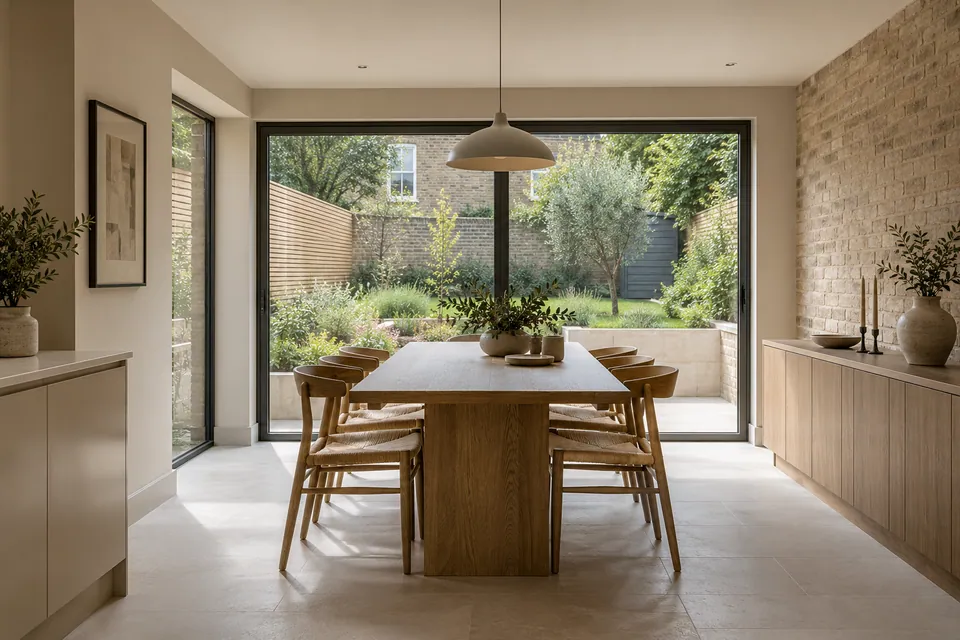
Existing home assessed
contrasting floor finishes planned
Shell handover checked
Finishes reviewed together
A measured interior plan for contrasting floor finishes
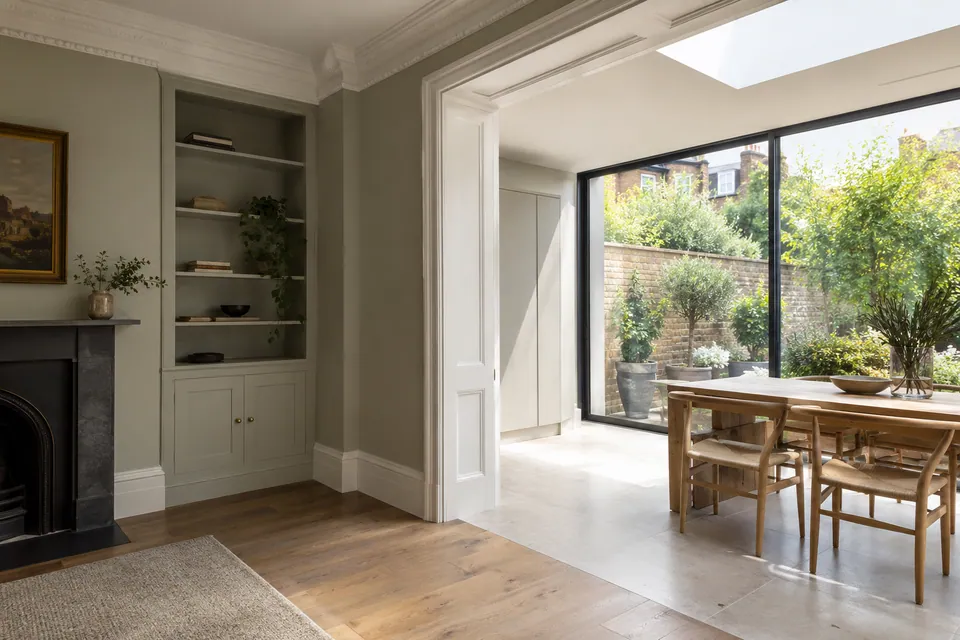
For an enquiry in Bermondsey about a dining extension with visible floor changes, we begin at the connection to the existing house. We would measure the room and check whether a retained timber floor beside new tile affects the work. This is a possible brief, not a claim that every property in Bermondsey has that arrangement. The actual shell handover and supplied design determine which internal finishes can be specified.
For this brief, agreeing a deliberate transition rather than assuming a perfect match shapes the preparation and fitting stages. We identify which dimensions can be fixed at survey and which must wait for shell or service handover. The work list names a hold point for contrasting floor finishes; dependent materials are not fabricated to an obsolete measurement. The final inspection uses that same reference.
Our close-out begins with contrasting floor finishes and continues through floors, doors, cabinetry and paint. We inspect the room as it will be used, then list and correct included defects. Maintenance access remains part of the check. The owner receives our finish details separately from records held by the shell contractor and specialist trades.
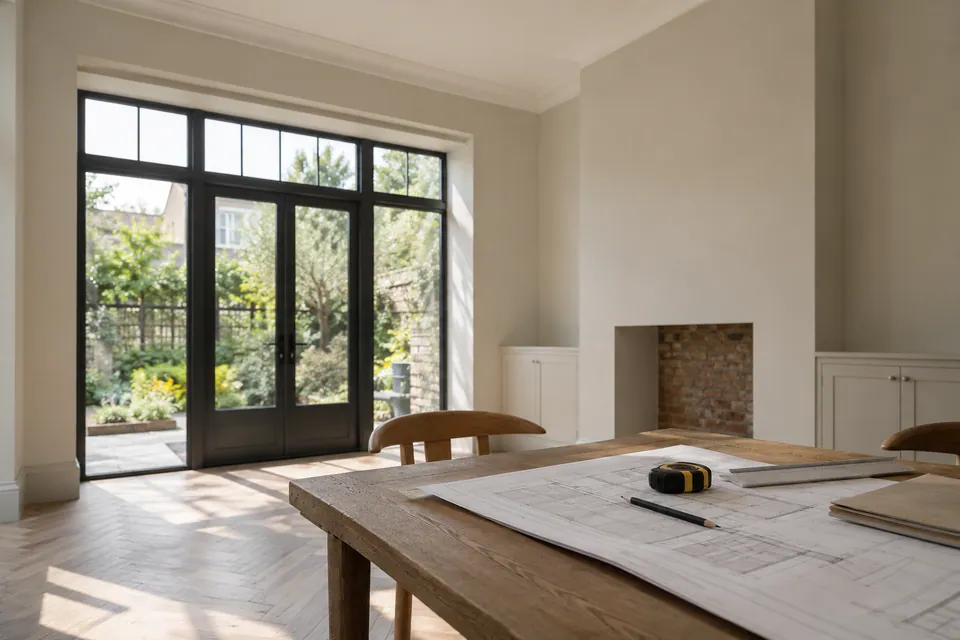
Survey the built addition and the older rooms
We visit the existing home and the completed extension together. Measurements cover the new room, the doorway between old and new, finished floor heights, window reveals and routes for bringing materials in. We note visible defects in the shell and the condition of retained rooms that need protection. The intended use is discussed against these dimensions, not against a generic extension plan. Missing technical information is listed for the appointed designer or preceding contractor before our finish is specified.
Release the finishing work from a sound shell
At shell handover we compare the supplied design with what is on site. Our team notes incomplete plaster backgrounds, changes to floor height, unsealed openings and service points that would collide with joinery. Each item is assigned to the party responsible for correction or clarification. We confirm the handover in writing before cutting floor materials or manufacturing fitted units. A clean finish follows a reliable starting condition, not the other way around.
Readiness checks for contrasting floor finishes
| Handover item | Our observation | Required response |
|---|---|---|
| Shell dimensions | Measure levels, openings and surfaces | Check a dining extension with visible floor changes against the actual room |
| Background condition | Inspect visible defects and remaining work | Preceding contractor resolves issues |
| Services and access | Locate controls and required panels | Appointed trades confirm positions |
| Old-to-new junction | Record contrasting floor finishes at the house connection | Agree the finish and threshold |
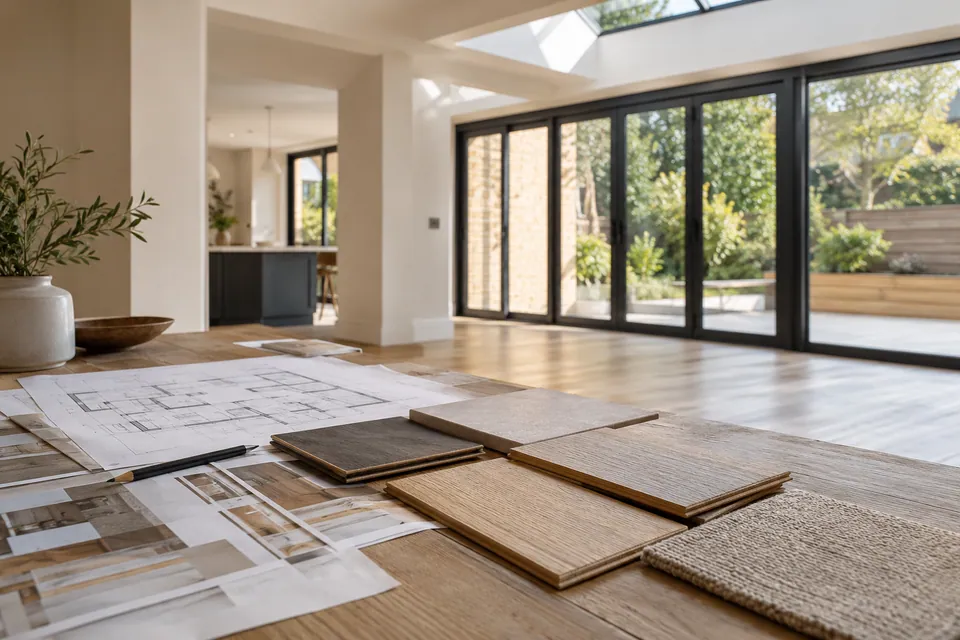
Agree inclusions and dependencies
A written specification gives the installer and owner the same reference. We list what remains, what is removed or prepared, which products are supplied, and where old and new finishes meet. The sequence includes specialist release points before close-up. If a material sample changes after ordering, we can identify its effect on thickness, cost and programme. Our schedule describes the interior appointment without implying delivery of a new external structure.
Shield retained finishes during work
We set a clean boundary around the interior package. Protective covering goes on the house route, and new glazing or fitted equipment is shielded from dust and impact. The team checks what must remain accessible during the work. Removal is limited to named decorative items; exposed floor and wall backgrounds are examined again. The installation programme is adjusted if that inspection shows a missing shell repair or a service position still to be confirmed.
Form clean internal faces and reveals
For an agreed lining or plastering item, we start from an accepted shell background and the supplied technical detail. Board types, fixings and joint treatments follow that specification. We set out around doors, windows, cupboards and access panels before cutting. Edges are supported and corners formed neatly; specialist service penetrations are coordinated before closure. After jointing, we inspect the surface under the room’s light and correct visible ridges before decoration begins.
Set the floor from the house threshold
We work from a known finished floor level so skirting, doors and kitchen units can follow it accurately. The accepted substrate is inspected for flatness and visible defects, and any included smoothing is compatible with the chosen system. The material is laid out for a balanced appearance, cut neatly around openings and finished at the house junction with the agreed profile. We check edge stability, surface damage and the step or flush transition before handover.
Installation sequence around a dining extension with visible floor changes
| Included stage | Site operation | Release check |
|---|---|---|
| Protection | Secure the route near a retained timber floor beside new tile | Retained rooms remain usable |
| Flooring | Prepare the accepted base and lay the chosen surface | Inspect edge and level |
| Carpentry | Template contrasting floor finishes to finished dimensions | Operate doors and panels |
| Decoration | Prime and coat accepted surfaces | Review coverage in room light |
Template and adjust the joinery
Fitted elements are coordinated with the room plan after the shell and floor have established usable dimensions. We confirm where cabinets meet glazing, how doors move and whether equipment can still be reached. Materials and finish are approved before fabrication. Joinery is installed level, trimmed neatly and adjusted on site. Each door, drawer and removable cover is operated during the walk-through, and any rubbing is corrected before decoration closes the edges.
Set out units against the real shell
The kitchen work begins with the actual shell and a checked services layout. We compare unit sizes, appliance openings and worktop lengths with the measured space, then install agreed cabinets from a level starting line. Panels are scribed to the finished surfaces, and doors are adjusted for clear operation. We do not close over an unresolved connection; specialist trades must release those positions. Our handover covers the fit and finish of included kitchen elements.
Finish the decorative layers
Our painting sequence protects the finished floor and carpentry while ceiling, wall and trim coats are applied. We use the specified primer and coating system on the accepted background, observing drying times and any product restrictions. Corners, glazing returns and skirting lines are inspected closely. After touch-ups, masking is removed without pulling the new finish, and care information is prepared for handover. Structural defects remain a separate issue.
Review the finished old-to-new route
We review the finished interior against the written schedule. The floor transition is walked, internal doors and cabinets are operated, and paint and trim junctions are viewed in normal light. We check that service access remains open and any kitchen units in our scope work as fitted. Agreed defects are listed and corrected, then protection and waste are removed. Product care information is handed over separately from structural or specialist certificates issued by other parties.
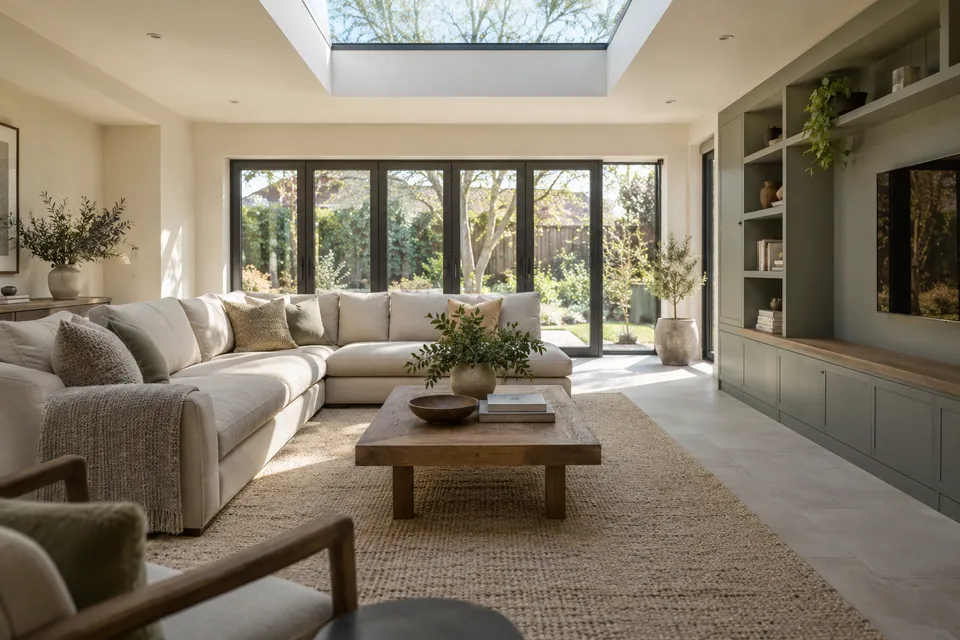
Close-out record for Bermondsey
| Finished part | What we inspect | Owner receives |
|---|---|---|
| House connection | Floor feel, door movement and trim | Floor and finish care |
| Fitted elements | Alignment and contrasting floor finishes | Operation and access notes |
| Decorative surfaces | Coating, corners and touch-ups | Product guidance |
| Separate appointments | Named remaining professional records | Responsible party and status |
Practical questions for Bermondsey extension interiors
What do you measure first for a dining extension with visible floor changes in Bermondsey?
We compare the drawings with the measured shell and the adjoining room. For a dining extension with visible floor changes, we check levels, openings and a retained timber floor beside new tile before specifying any finish. Missing structural information is referred to the appointed designer.
Which shell details must be released before contrasting floor finishes is finished in Bermondsey?
Handover is checked item by item: substrate, levels, reveals, service positions and documents. If a retained timber floor beside new tile differs from the design, the responsible party resolves it before our affected finish starts.
Can the new floor match the older room when planning a dining extension with visible floor changes?
An exact match cannot be promised until the retained finish is identified and a sample is compared in the room. We check thickness, colour, texture and transition height, then agree a threshold detail if the original product is unavailable.
When are doors and cupboards for a dining extension with visible floor changes measured?
Cabinetry and doors are ordered from verified dimensions. If a retained timber floor beside new tile changes after the survey, we update the detail rather than forcing a manufactured item into place.
Can a kitchen package be included with a dining extension with visible floor changes in Bermondsey?
A kitchen package can be agreed for the extension, with the old-to-new floor transition treated as a separate measured detail. Unit positions and flooring sequence are confirmed together before installation.
How do you protect the home while working around a retained timber floor beside new tile?
We discuss access hours, deliveries and where products can be kept clean and dry. Protective materials are selected for the existing floor and joinery, with contrasting floor finishes considered before installation starts.
Does finishing contrasting floor finishes also settle extension approvals in Bermondsey?
The project documents should name the applicant, designer and inspecting parties. Our quotation covers stated interior work only. contrasting floor finishes is checked against the information those parties supply.
What do you test at handover for a dining extension with visible floor changes?
The final list matches the quotation. We operate fitted pieces, inspect the finish around a retained timber floor beside new tile, remove protection and identify any outstanding document owned by another project party.