
EXISTING GARAGE · MEASURED INTERIOR WORK
Garage Conversion Chiswick
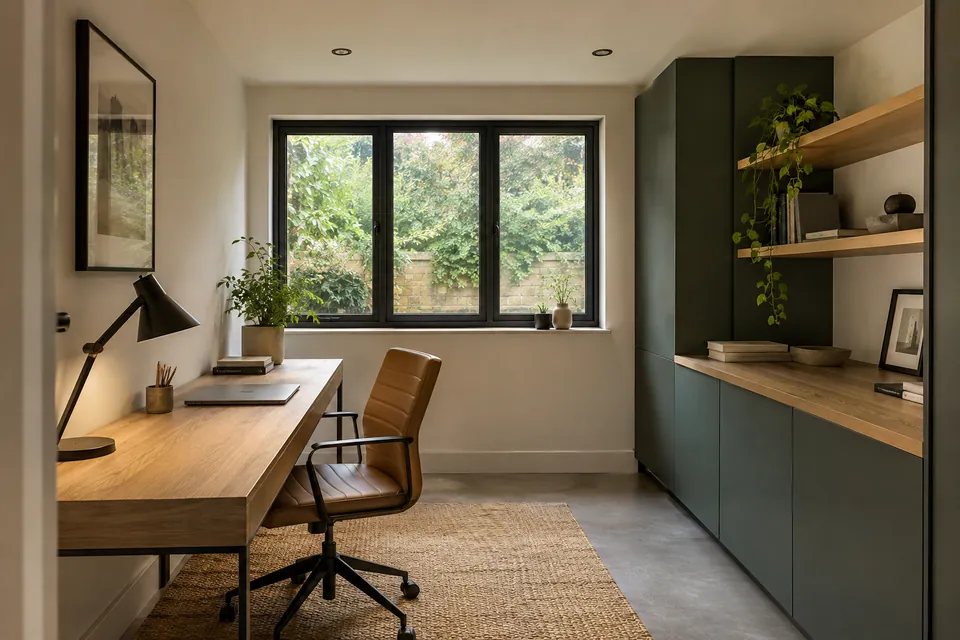
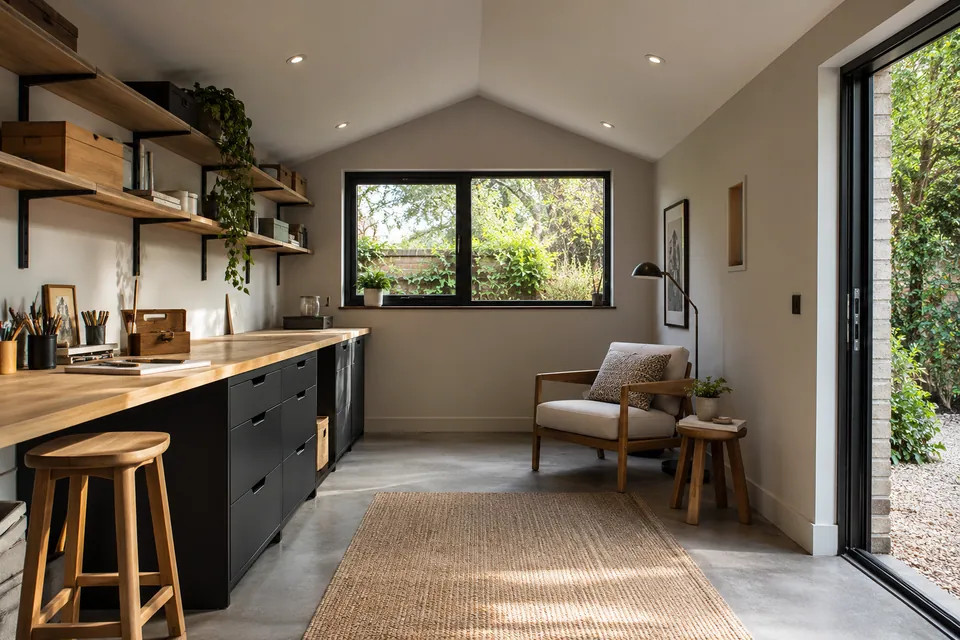
We assess the existing garage, define the work boundary and install an agreed interior. For an enquiry in Chiswick about a garden-facing hobby room using existing glazing, the plan starts with the real dimensions and condition rather than a standard conversion package.
- Survey glazing reveal and worktop position against the existing shell
- Agree materials and specialist handovers before work
- Fit the floor, joinery and finishes to the written scope
Existing garage assessed
glazing reveal and worktop position planned
Written interior scope
Finish checked at handover
A measured plan for glazing reveal and worktop position
The first operation for a garden-facing hobby room using existing glazing is measurement, not stripping the garage to a guessed layout. In Chiswick we would record the slab, ceiling, openings and access around a work surface beside the window. These notes let us test the idea against clearances and identify any design information missing from the brief. The page describes a possible work sequence, not a claim about a specific past project.
For this brief, balancing the layout against daylight and the retained opening shapes the order of the floor, lining and fitted work. We establish what must be measured after an earlier trade has finished and which products can be selected in advance. The work schedule identifies glazing reveal and worktop position as a check at both installation and handover. Where an unconfirmed technical detail could change the dimensions, the dependent item stays uncut.
The final walk-through tests whether a garden-facing hobby room using existing glazing works after every trim and cabinet is fitted. We check glazing reveal and worktop position, open any access panel and review the floor transition. We remove our protection and explain product care. If an approval or specialist certificate is still required, we identify its owner rather than implying our decorative completion provides it.
Record the present shell
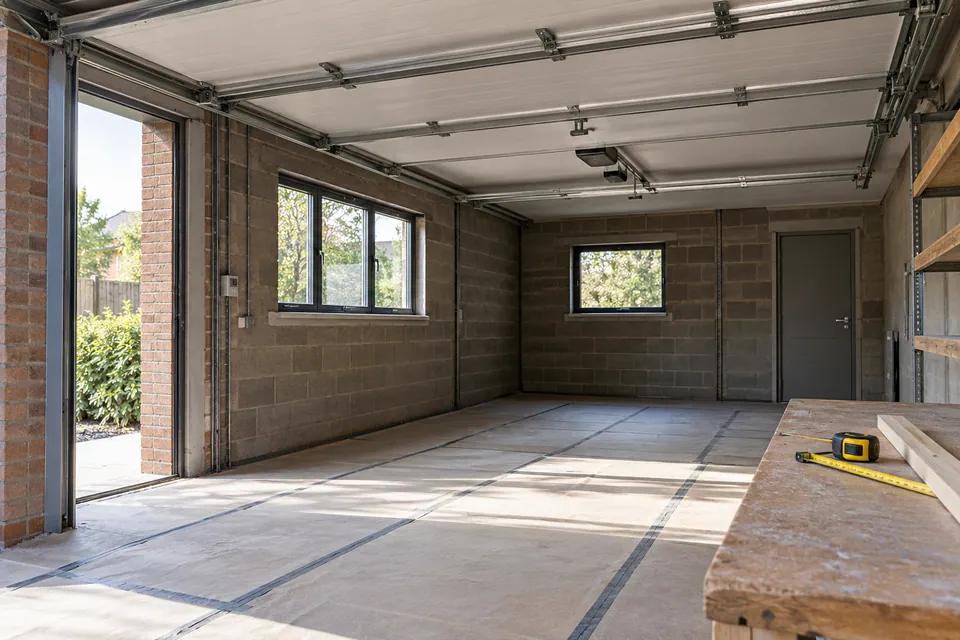
We assess the present enclosure before describing the finished room. Measurements cover the floor at several points, available headroom, the front opening, windows, ceiling and the connection to adjoining spaces. We note water staining, loose finishes and damage without claiming to diagnose concealed fabric. The survey also records any retained storage or access hatch. We use this evidence to set the interior boundary and identify the specialist information required before our flooring or lining package can begin.
Define the installation schedule
We translate the brief into an itemised fit-out package rather than a single vague promise. The schedule identifies retained features, measured flooring, agreed wall or ceiling finishes, carpentry, coatings, protection and clearance. It also identifies exclusions and dependencies: structural change, garage-door infill, wiring, plumbing and permission work are not assumed. We agree material choices and visible edges before ordering, then use the same schedule to check progress and final completion.
Survey decisions for glazing reveal and worktop position
| Existing element | Our check | Next decision |
|---|---|---|
| Measured room | Record levels, openings and clearances | Test a garden-facing hobby room using existing glazing against the shell |
| Substrate | Inspect visible floor and wall condition | Resolve defects before covering |
| Retained equipment | Mark controls and service access | Keep a maintenance route |
| External or service change | Identify the affected interface | Assign specialist design and work |
Organise safe working access
We set a delivery route, protect doors and adjacent floors, then clear the existing garage of agreed loose contents. Fixed cupboards or coverings are dismantled only where the schedule includes them. The exposed floor and wall are inspected again because stored goods may have hidden staining or damaged joints. We photograph a changed condition and revise preparation if necessary. Dust control and tidy waste movement help keep the rest of the property usable while this stage is under way.
Accept the surfaces for fit-out
A garage used for storage can have floor and wall conditions unlike a finished room. We therefore do not treat clearance as automatic readiness. The accepted background is inspected for soundness, level and visible moisture concerns, and any technical treatment is confirmed by the responsible designer or specialist. We set out the finished dimensions against that approved arrangement. Only when the starting condition is clear do we release the flooring, linings and fitted elements in our scope.
Set the floor and threshold
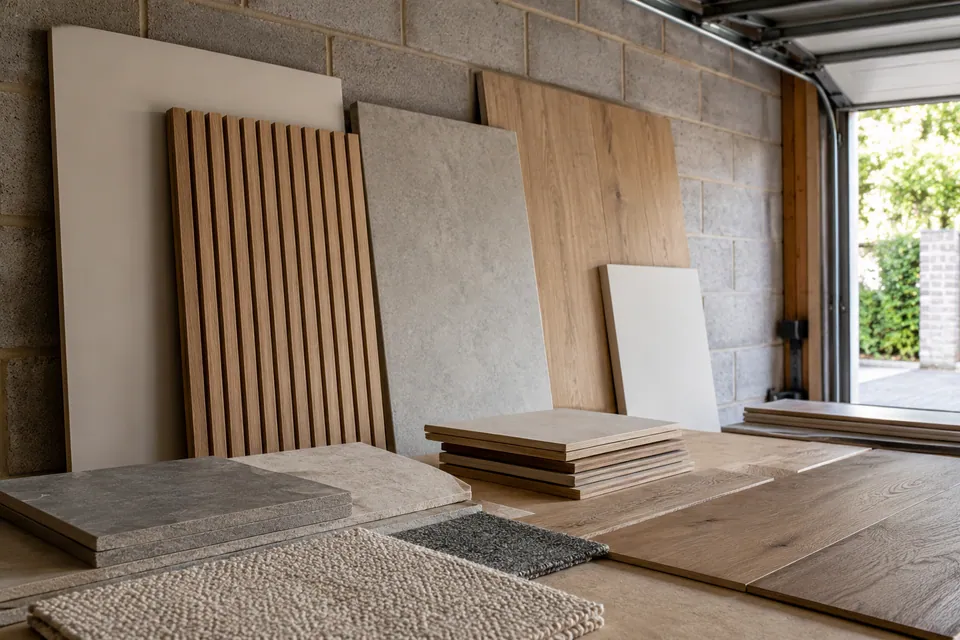
The floor is set out from the room’s key sightline and the connection to the house. We verify the proposed height against the door swing and usable ceiling clearance. Where a specialist floor construction is needed, it is completed and accepted before our surface layer begins. We fit the agreed boards, tiles or other specified product to the prepared base, cutting neatly around retained equipment. The final check looks for lipping, movement, damaged pieces and edges that will withstand ordinary use.
Fit-out sequence around a garden-facing hobby room using existing glazing
| Included operation | Site action | Release check |
|---|---|---|
| Clearance | Protect the route near a work surface beside the window | Inspect exposed backgrounds |
| Floor finish | Prepare the accepted base and fit the specified surface | Review threshold and perimeter |
| Lining and joinery | Set out glazing reveal and worktop position from final dimensions | Operate panels and doors |
| Decoration | Prime and coat accepted surfaces | Check coverage in room light |
Form the specified internal lining
Wall and ceiling work follows the approved build-up. We check the accepted background, set out board joints and openings, and coordinate positions for any separately installed services before fixing a lining included in our schedule. Specified boards, fixings and jointing materials are used for the detail supplied, rather than chosen only by appearance. We keep access to meters and inspection points. Once joints and corners are finished, we assess the surface in room light and make it ready for the agreed coating.
Set out fitted elements on site
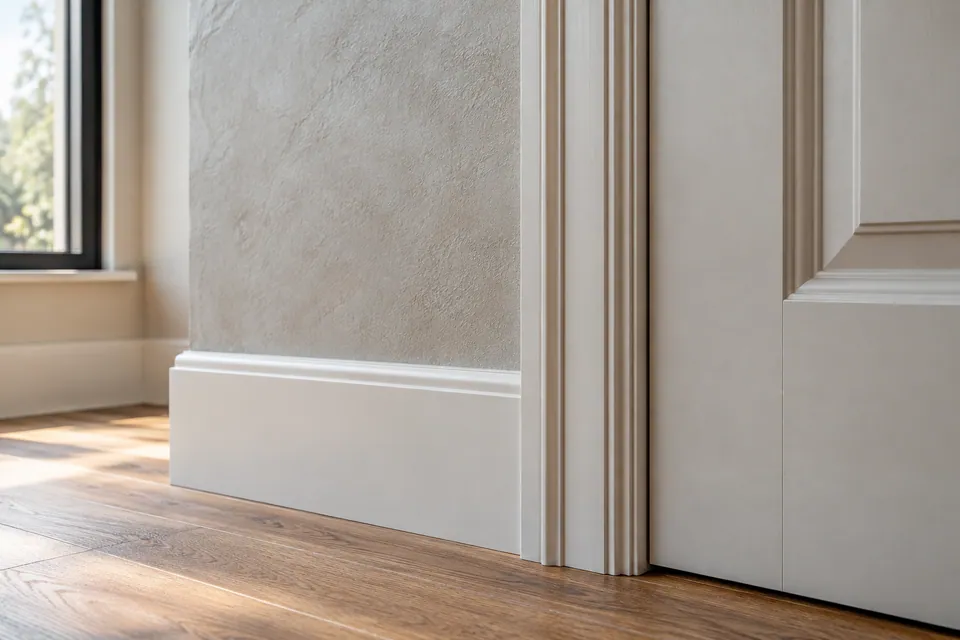
We turn the measured layout into a practical cutting and fitting schedule. Cabinet depths, shelf spans and trim sizes are checked against the actual room and the stored objects described by the owner. We select the specified materials and protect the installed floor while fitting. Joinery is fixed securely to the accepted background; panels remain removable where equipment requires access. We inspect level, consistent gaps, operation and the quality of visible junctions.
Apply the specified coatings
The finishing stage is controlled by the substrate and the specified paint, not by a fixed number of quick passes. We check that jointing is dry and sound, deal with minor imperfections in scope and apply the appropriate preparatory product. The team masks or protects completed surfaces and paints ceilings, walls and trim in an order that avoids reworking finished edges. Under the final lighting we inspect sheen, coverage and junctions, recording small corrections before the owner walks through.
Leave specialist records with their trades
Where the proposed room needs new power, heating or plumbing, we establish a named specialist responsibility and a practical time in the programme for that work. We set out our floor and wall details around the agreed positions and hold affected finishes until the specialist has completed the required check. We then close the included interior work without obstructing isolation points or future maintenance. The owner receives the relevant specialist paperwork from its issuing party.
Walk through the completed interior
The final review follows the same sequence as the first survey: entry, movement, retained equipment and each finished surface. We check that the flooring is stable, trims meet neatly, panels can be lifted and furniture clearances remain practical. We address agreed snags and remove materials and protection. The owner receives information about the installed products and their upkeep. Records for services, structure or permissions are handed over by the separately responsible party.
Handover checks for Chiswick
| Finished part | We inspect | Owner receives |
|---|---|---|
| Floor and doorway | Stability, edge trim and transition | Product care information |
| Fitted storage | Operation and glazing reveal and worktop position | Fitting and access notes |
| Decorative surfaces | Coverage, corners and touch-ups | Coating care guidance |
| Separate work | Named outstanding professional records | Responsible party list |
Garage work questions for Chiswick
What do you measure first for a garden-facing hobby room using existing glazing in Chiswick?
We measure the existing slab and ceiling together because a new floor affects headroom. The layout for a garden-facing hobby room using existing glazing is then compared with doors and retained equipment. A measured visit does not certify hidden construction.
How is glazing reveal and worktop position reflected in the written Chiswick work list?
The work list describes how glazing reveal and worktop position is prepared, fitted and inspected. We put the dependent specialist information beside it. That makes clear when the interior team can start and what still lies outside this appointment.
What happens if a work surface beside the window is found to obstruct the proposed layout?
The layout is checked again against the real position of a work surface beside the window. We may alter cabinet depth, walking space or the order of installation, subject to the written instruction. Products are not ordered from a superseded plan.
When can the floor finish be selected for a garden-facing hobby room using existing glazing in Chiswick?
The selection is made when the technical build-up and level are known. We demonstrate where the finish meets a work surface beside the window, plan any removable cover and confirm the manufacturer’s tolerances before installation.
Can the garage be cleared while a garden-facing hobby room using existing glazing is still being designed?
Clearance is useful because it reveals floor and wall conditions. We document what changes after a work surface beside the window is moved or exposed, then agree any new preparation before continuing. Unconfirmed construction work remains on hold.
How do you keep existing controls accessible around glazing reveal and worktop position?
We mark the controls before boards or cabinets are set out. The finish for glazing reveal and worktop position includes an accessible panel where required, and we operate it at handover. New service installation belongs to the appointed trade.
What is checked after the joinery for a garden-facing hobby room using existing glazing is fitted?
Our joinery check covers fixing, alignment, operation and the surrounding clearances. We then confirm glazing reveal and worktop position has not blocked a switch, meter or walkway, and complete agreed corrections before the owner signs off.
Does completing a garden-facing hobby room using existing glazing automatically approve the intended use in Chiswick?
No. Existing glazing may help the layout, but it does not by itself establish that the room meets requirements for the intended activity. The client obtains the relevant design and approval advice; we fit the agreed interior finishes around the confirmed window and hand over that scope.