
Existing homes · measured scope and careful finishing · Finished interiors
Loft Conversion in Belgravia
A Belgravia loft conversion needs the construction detail and the finished interior to be planned together. We build the agreed full scheme from the client’s architect’s drawings, then take the roof space through specialist works to a usable room.
- Survey the existing loft and proposed stair route in Belgravia
- Build the approved structure and roof work in an agreed sequence
- Coordinate qualified trades, interior finishes and handover
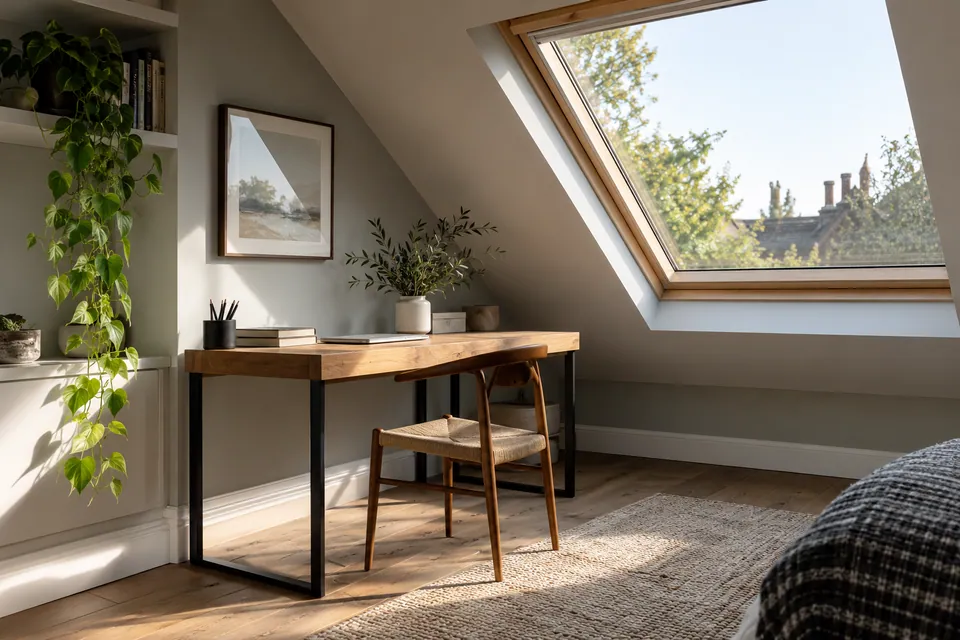
Drawings checked against the Belgravia property
Structural and roof stages recorded in writing
Specialist work timed before surfaces close
Finishes checked against the agreed scope
The survey starts with the house beneath the loft
During the property visit, we compare the drawing with visible conditions instead of assuming that the roof void matches a plan. We measure accessible lengths, headroom and likely stair clearances, note the roof form and inspect visible timbers and ceiling construction. We look for signs of leaks, previous interventions and services crossing the proposed room. The route for materials and waste through the existing home is checked at the same time. Where a bearing point or concealed layer cannot be verified visually, the question is recorded for the engineer or for a controlled opening-up stage.
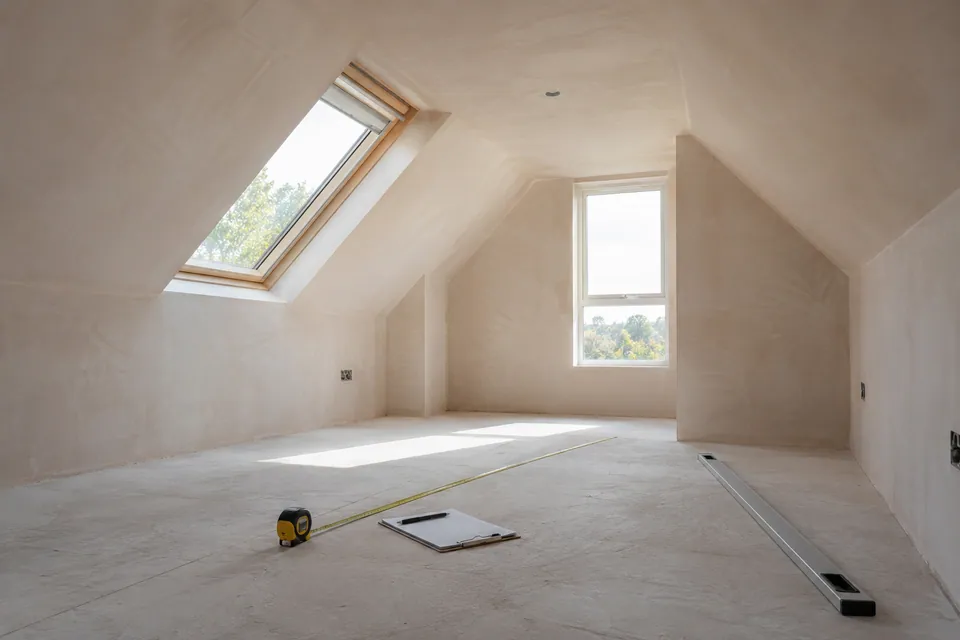
Construction decisions for a Belgravia loft
| Work stage | Activities in the agreed scope | Check before moving on |
|---|---|---|
| Survey and design | Measure accessible space; review structure, stair route and intended use | Unknowns, drawings and specialist responsibilities recorded |
| Preparation | Protect access routes; establish work area and material handling | Current design and approvals available for affected work |
| Structure and roof | Build designed support, floor and approved roof alteration | Required exposed-work inspections completed |
What we take on, and how the scope is set
A loft conversion is priced as a set of defined construction packages, not as an empty roof space with a standard finish. We compare the intended room with the architect’s plans, structural calculations and the existing house. The written scope identifies the floor, roof, stair, services and finishing work we will execute. It also identifies the specialist records and inspection stages that must be arranged for the property. Where the client has not yet settled the room layout or a technical detail, that decision remains open rather than being concealed inside a generic allowance.
Responsibilities before building in Belgravia
| Project requirement | Our project scope | Specialist assessment or record |
|---|---|---|
| Load-bearing changes | Construct to approved structural information | Engineer specifies design and reviews changes |
| Roof opening or dormer | Build and weather the agreed alteration | Design and approval route confirmed for the proposal |
| Electrical and plumbing | Coordinate access and sequence within the project | Qualified trades install, test and provide relevant records |
Drawings, responsibilities and approvals before site work
Before structural work, the team checks that the current drawing revision, engineering details and the relevant consent information have been supplied. We do not prepare architectural plans. If site measurements reveal a conflict, we send the question to the client’s design team rather than improvising a new structural solution. We agree who contacts Building Control and which stages need to remain open for inspection. Holding work at the right point is part of the programme: a finished ceiling should not hide a connection or insulation detail that still requires review.
Prepare the property and establish a controlled work area
We set out the work area, protect the route through occupied rooms and confirm where tools, materials and waste can be placed. The team identifies the electrical and water supplies that may be affected, separates the loft work from household circulation as far as the property allows and plans noisy or disruptive operations around the agreed access. Protection and temporary arrangements are adapted to the actual house; a narrow terrace entrance needs a different handling plan from a clear side access.
Connect the new level to the existing home
The new stair links the conversion to a home that already has doors, landings and daily circulation. We check the designed opening against site dimensions before ordering the final components. The intended arrival position, head clearance, handrail route and nearby doors are reviewed together. Once the structure is ready, we fit the staircase and complete guarding, trims and adjoining surfaces to the project detail. Where the actual landing geometry conflicts with the plans, we obtain a revised decision from the design team instead of forcing a stair into the remaining space.
Build the supporting floor and alter the roof to the design
The engineer’s calculations and details set the supporting structure. We establish the specified bearings, install the designed beams or other supports and form the new floor in a sequence that preserves the existing house. Positions are checked before connections are concealed, particularly where a joist layout meets the stair opening or an existing wall. The old ceiling is not treated as a habitable floor by assumption. When the roof is altered, the new framing, opening and weathering follow the architect’s and engineer’s information, with exposed work protected until the covering is complete.
Bring specialist services into the build at the right time
Electrical and plumbing work is sequenced before linings close the walls and roof. The relevant specialists review the agreed locations of sockets, lighting, heating, extraction and any bathroom fixtures against the structure and insulation layout. We arrange access for their first fix, record where routes need a decision and avoid closing an area until the required work and inspection for that stage have been completed.
Close, line and finish the loft interior
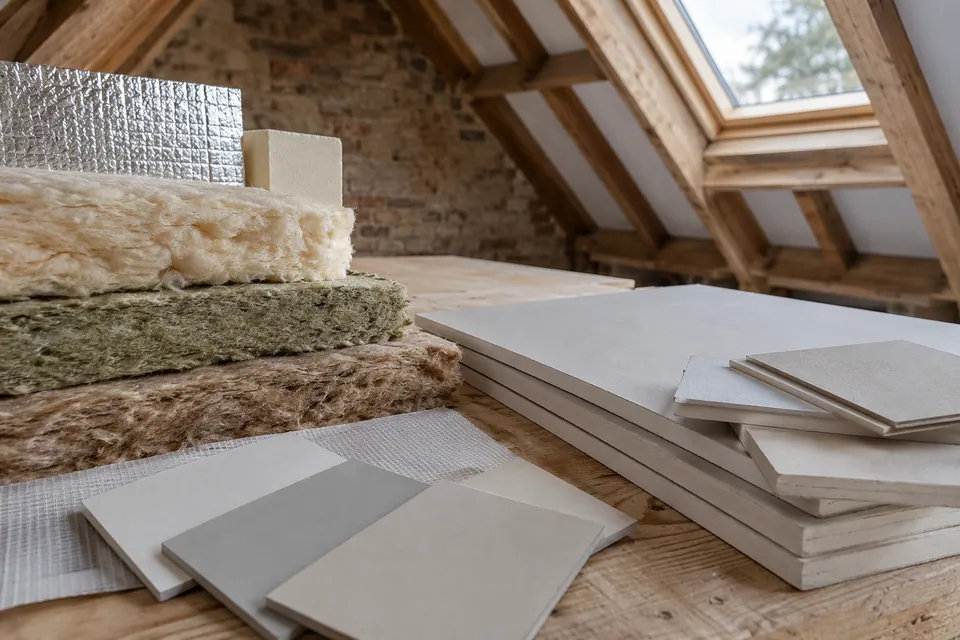
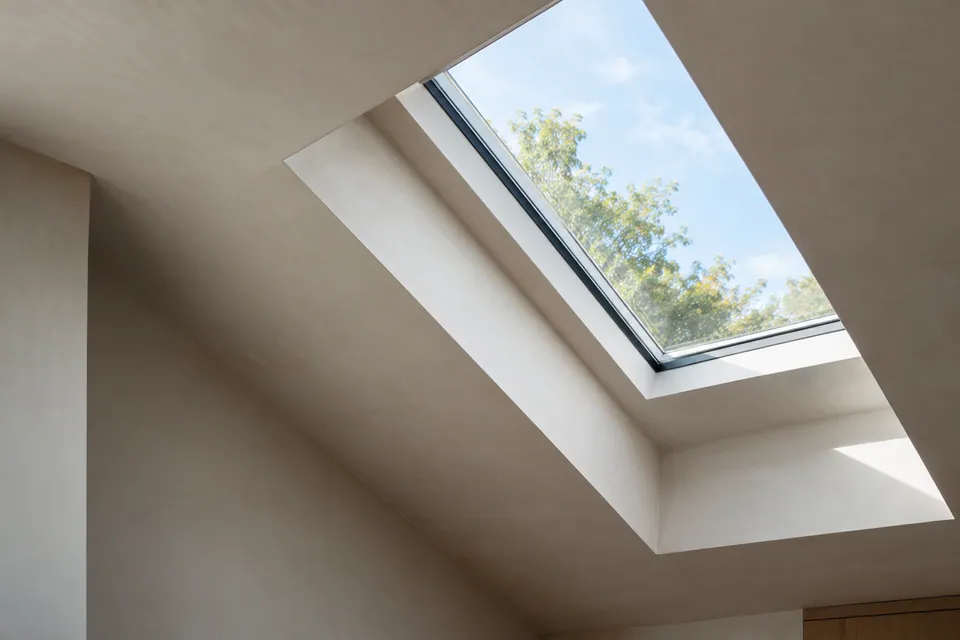
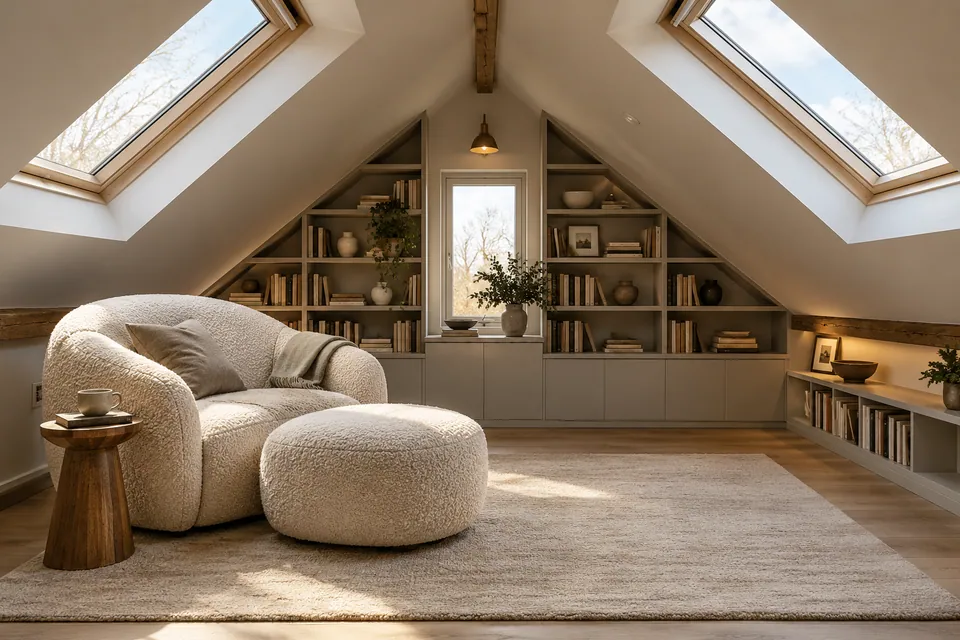
When the shell and first fix are ready, we fit the specified insulation and linings. Roof slopes, eaves, dormer cheeks and window reveals need careful sequencing because several layers meet in a narrow zone. We keep any required inspection area exposed until it has been checked. Plasterboard, joint treatment and plaster finishes are then prepared for flooring and decoration. Joinery is measured against the finished dimensions; doors, storage, skirtings and floor thresholds are fitted without assuming that the new room is perfectly square. Final paintwork follows surface preparation and the chosen coating system.
The difference between a designed room and a finished room is often at the junctions: angled ceiling to vertical wall, rooflight reveal to plaster, new floor to landing and fitted storage to eaves. We agree the specified materials, leave inspection points accessible, then line and finish those junctions in sequence. Joinery is finally measured to the built geometry rather than assumed from an early plan.
Interior work follows the construction sequence
| Interior element | Preparation | Finishing work |
|---|---|---|
| Sloping ceilings | Confirm insulation and first fix before enclosure | Fix linings, finish joints and decorate |
| New floor | Check designed structure and surface condition | Lay specified covering and resolve thresholds |
| Stair and landing | Set opening and arrival against drawings | Fit stair, guarding, trims and adjoining finishes |
Check the completed work and hand over the room
Completion is a room-by-room check, including the existing areas touched by the work. We look at the fit of the new stair, doors, storage and floor edges; the finish around rooflights and sloping walls; and the operation of agreed fittings. Any incomplete paint, plaster or joinery item goes on a written list for correction. We also reconcile the specialist records and inspection stages assigned in the project scope. The handover is based on the work actually ordered and completed, not a broad promise that every possible loft feature was included.
What matters at a Belgravia address
The Belgravia name does not establish whether a particular building is listed, within a conservation area or subject to landlord consent. The client’s design team checks those matters for the exact property before roof work is authorised. We survey the real structure, access and proposed stair route against the drawings so the written build scope reflects the home in front of us.
Questions about loft construction in Belgravia
When are Belgravia property consents checked?
The owner and appointed designer establish any property consent before the affected roof or structural stage begins. We compare that decision with the drawings and programme, then hold work that depends on an unresolved condition rather than treating a quotation as approval.
How do finish choices affect the structural programme?
Finish choices affect build-up thickness and ordering, but they do not override the engineer’s structural sequence. We settle floor and wall specifications early enough to coordinate levels and fixing zones, then fit them after the supporting work and inspections are complete.
What is measured again before fitted storage is made?
We remeasure the finished floor, formed roof slope and completed wall faces before making built-in storage. Door swing, shelf depth and any access panel are checked against those real dimensions so the joinery fits the completed shell.
Who decides the roof and stair design?
The client’s architect and structural engineer define the roof and stair arrangement in their project information. We survey the existing house against those documents and build the agreed work. If site dimensions change the design, their revised detail is needed before cutting structural members or ordering the stair.
How is bathroom waterproofing coordinated with other trades?
The appointed specialist specifies the waterproofing system and its junctions with floor, walls and fittings. We sequence backgrounds and tiling around that specification, keeping the affected area open for any required check before final finishes conceal it.
What happens before walls are painted?
We check that plaster backgrounds are sound, dry and ready for the selected coating, and that service and inspection work behind them has been released. Minor surface preparation is completed before primer and finish coats; paint is not used to hide an unresolved defect.
What does the written quotation include?
It identifies the surveyed and designed roof and floor work, stair, specialist packages, finishes, access provisions and named exclusions. We set out the inspection and design dependencies separately so an unknown condition is not hidden inside a single total.
How are finishing defects recorded?
Visible finishing defects are listed with their location and the trade responsible for correction. We agree the remedy and recheck the affected surface under normal light before closing our snag list; structural or specialist findings follow their own route.